Scotland’s Railways · line explorer
The Waverley Route
Edinburgh Waverley to Carlisle Citadel
Keep exploring the Waverley Route
Choose another section
The complete set of choices stays here on every section page. Your current section is highlighted.
Bridges, tunnels and gradients
Engineering on The Waverley Route
These records bring together the published structures and gradient points already held in the Waverley Route register.
Choose Zoom into this structure here on any record to open its MapTiler map immediately underneath.
Bridge
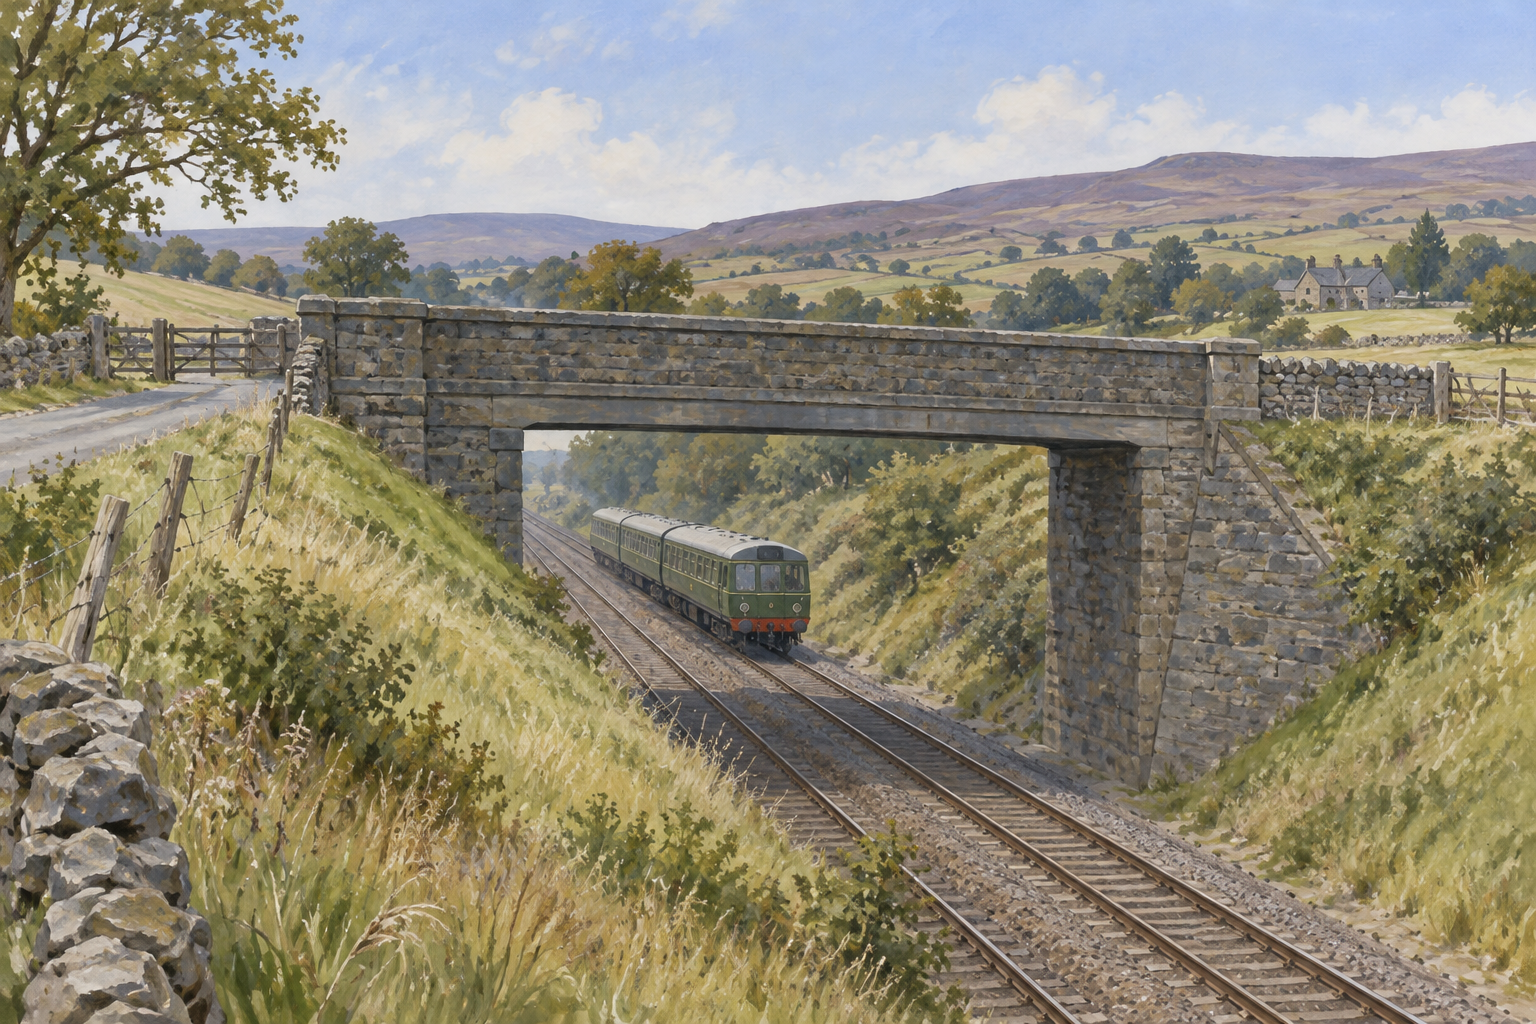
Bridge 48 near Heriot
Near Heriot
A masonry overbridge near Heriot, recorded by Historic Environment Scotland at NT 40373 54513.
- Type
- Bridge
- Railway
- The Waverley Route
- Source reference
- Bridge 48
About this structure
Its recorded map position and masonry construction are included in the route register.
What still needs to be done
A public catalogue link, construction date and fuller structural description still need to be added.
Viaduct
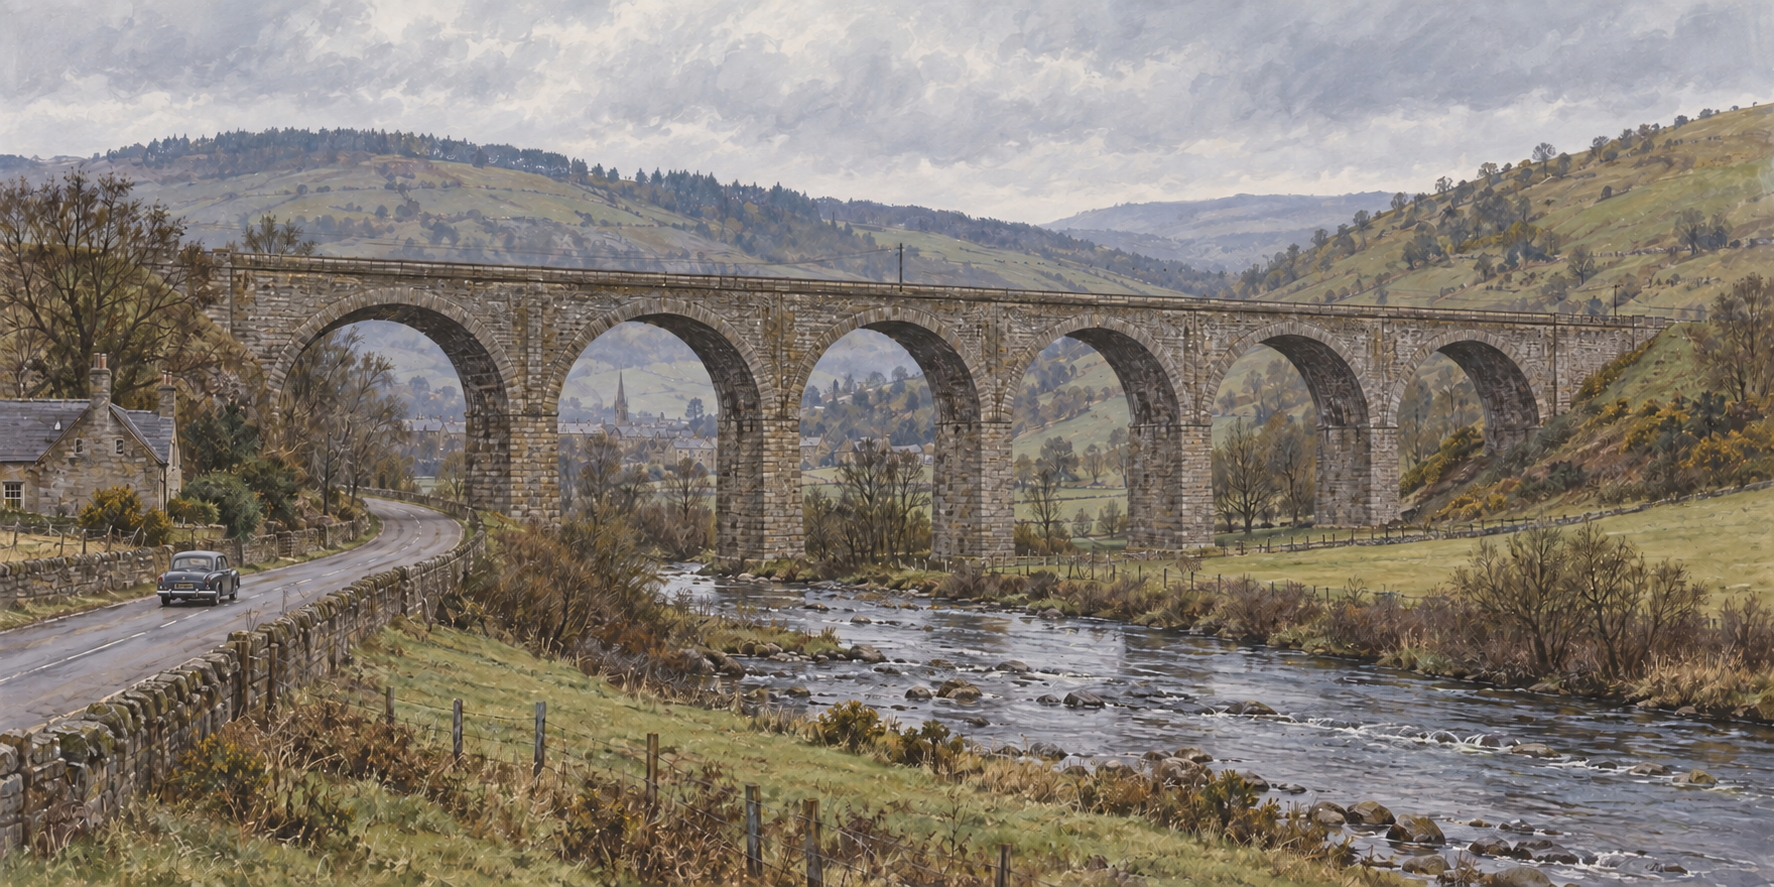
Lynnwood Viaduct
Southern approach to Hawick
The now-demolished six-stone-arch viaduct crossed the Slitrig Water and B6399 at an angle.
- Type
- Viaduct
- Railway
- The Waverley Route
- Source reference
- NRHE-210408
About this structure
The national catalogue records the alternative names Linnwood and Lynnwood Viaduct, six stone arches and the structure's demolition.
What still needs to be done
Construction date, dimensions and a cleared historical image have not yet been added.

Viaduct
Newbattle Viaduct
Lothianbridge, near Dalkeith
The major masonry viaduct carried the route over the River South Esk and two roads at Lothianbridge.
- Type
- Viaduct
- Railway
- The Waverley Route
- Source reference
- NRHE-143953; WR-SPA-025
About this structure
The structure is recorded in the national catalogue and is shown carrying the modern Borders Railway in the 2025 photograph.
A point to note
Published catalogue descriptions differ between 22 arches and 23 spans, so this collection does not choose one count.

Viaduct
Redbridge Viaduct
East of Galashiels
A red-sandstone viaduct carrying the former Waverley Route across the River Tweed at Galafoot.
- Type
- Viaduct
- Railway
- The Waverley Route
- Source reference
- NRHE-278439
About this structure
The national catalogue identifies the structure as Bridge 104 and records its River Tweed crossing. The 2007 photograph shows the surviving viaduct after railway closure.
A point to note
Published descriptions do not agree on the number of arches, so no single count is presented here as settled.

Viaduct
Shankend Viaduct
Shankend, south of Hawick
The fifteen-arch viaduct carried the route across Langside Burn; each span was recorded as 35 ft and the structure as 60 ft high.
- Type
- Viaduct
- Railway
- The Waverley Route
- Source reference
- NRHE-55168
About this structure
The catalogue includes a 1958 Ordnance Survey record card and records the viaduct opening with the Riccarton Junction-Hawick section in 1862.

Tunnel
Bowshank Tunnel
Bowshank, north of Galashiels
Tunnel No. 75, about 195 metres long, with a stone-faced north portal and a mainly brick-lined bore.
- Type
- Tunnel
- Railway
- The Waverley Route
- Source reference
- NRHE-283845
About this structure
The national survey records the tunnel number, approximate length, north portal and lining.
What still needs to be done
A checked construction date and portal-by-portal map geometry remain to be added.

Tunnel
Whitrope Tunnel
Whitrope, south of Shankend
The approximately 1,104 metre tunnel carried the route beneath Sandy Edge, with the line summit beside its south entrance.
- Type
- Tunnel
- Railway
- The Waverley Route
- Source reference
- NRHE-86458; WR-SPA-014; WR-SPA-016
About this structure
The national record gives the tunnel extent from NT 52664 00673 to NT 52230 01702.
What still needs to be done
The point in this first collection marks the catalogue centre, not either portal. Detailed portal geometry is a later mapping task.
Summit and gradients
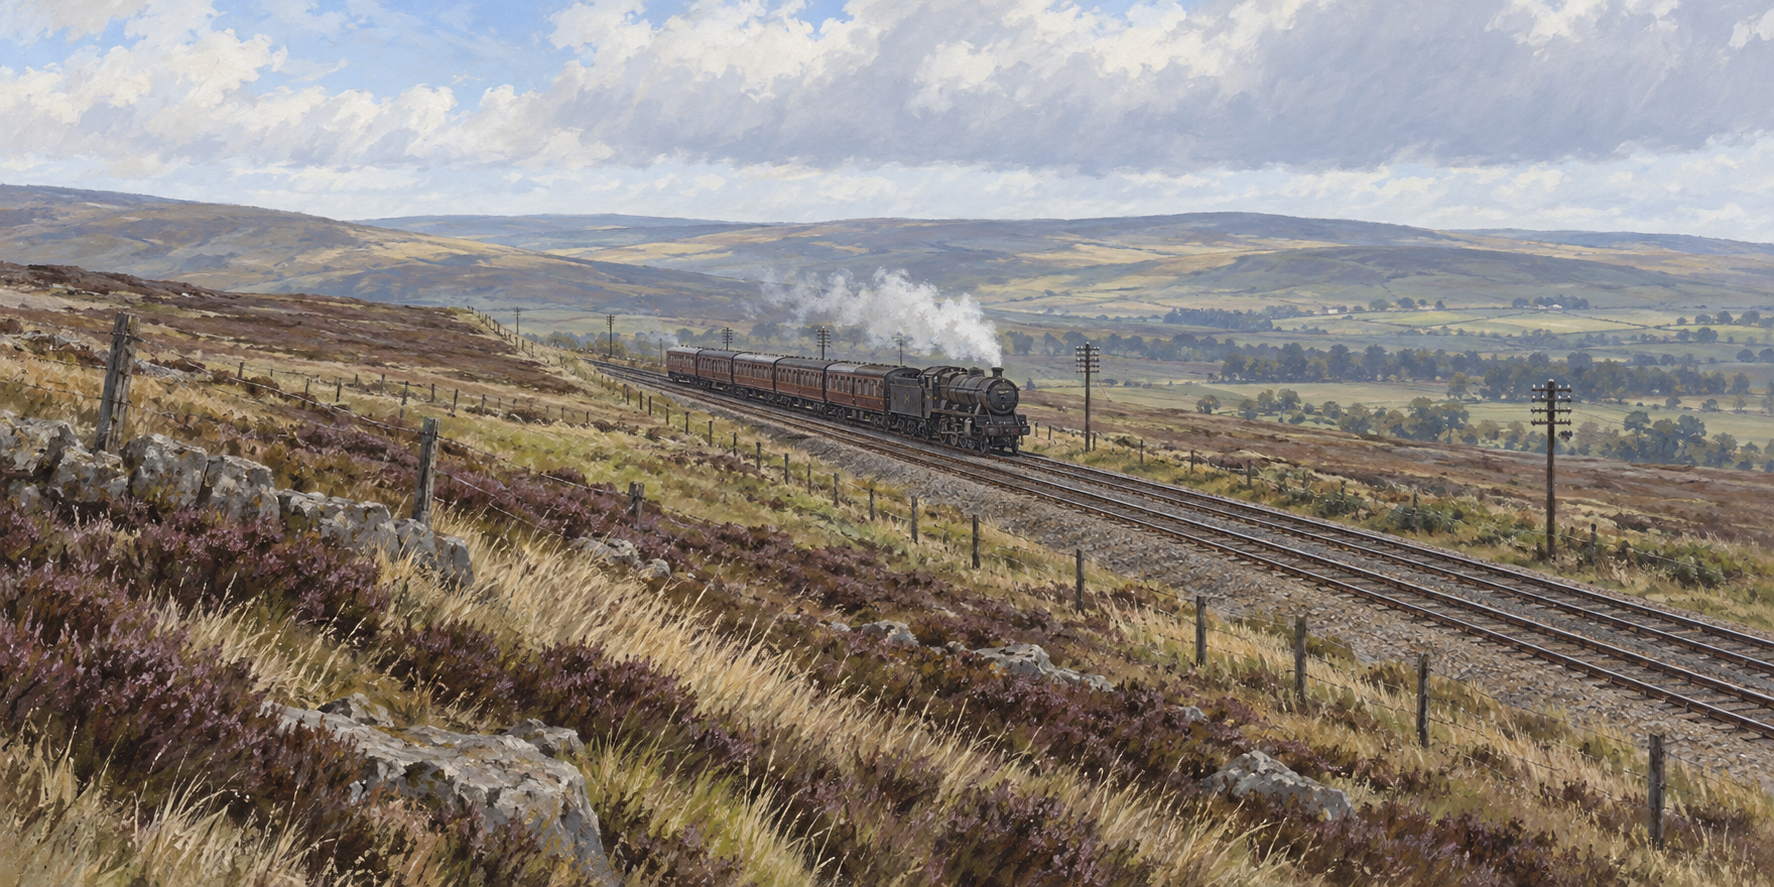
Falahill Summit
Falahill
The northern summit of the route, stated as about 880 feet in the atlas material and reproduced gradient profile.
- Type
- Summit and gradients
- Railway
- The Waverley Route
- Source reference
- WR-SPA-013; WR-SPA-015
About this structure
The supplied Railway Atlas of Scotland photographs state 880 ft and show a southbound climb including 1 in 70.
What still needs to be done
Exact gradient limits still need checking against the original British Railways profile Sc12.
Summit and gradients
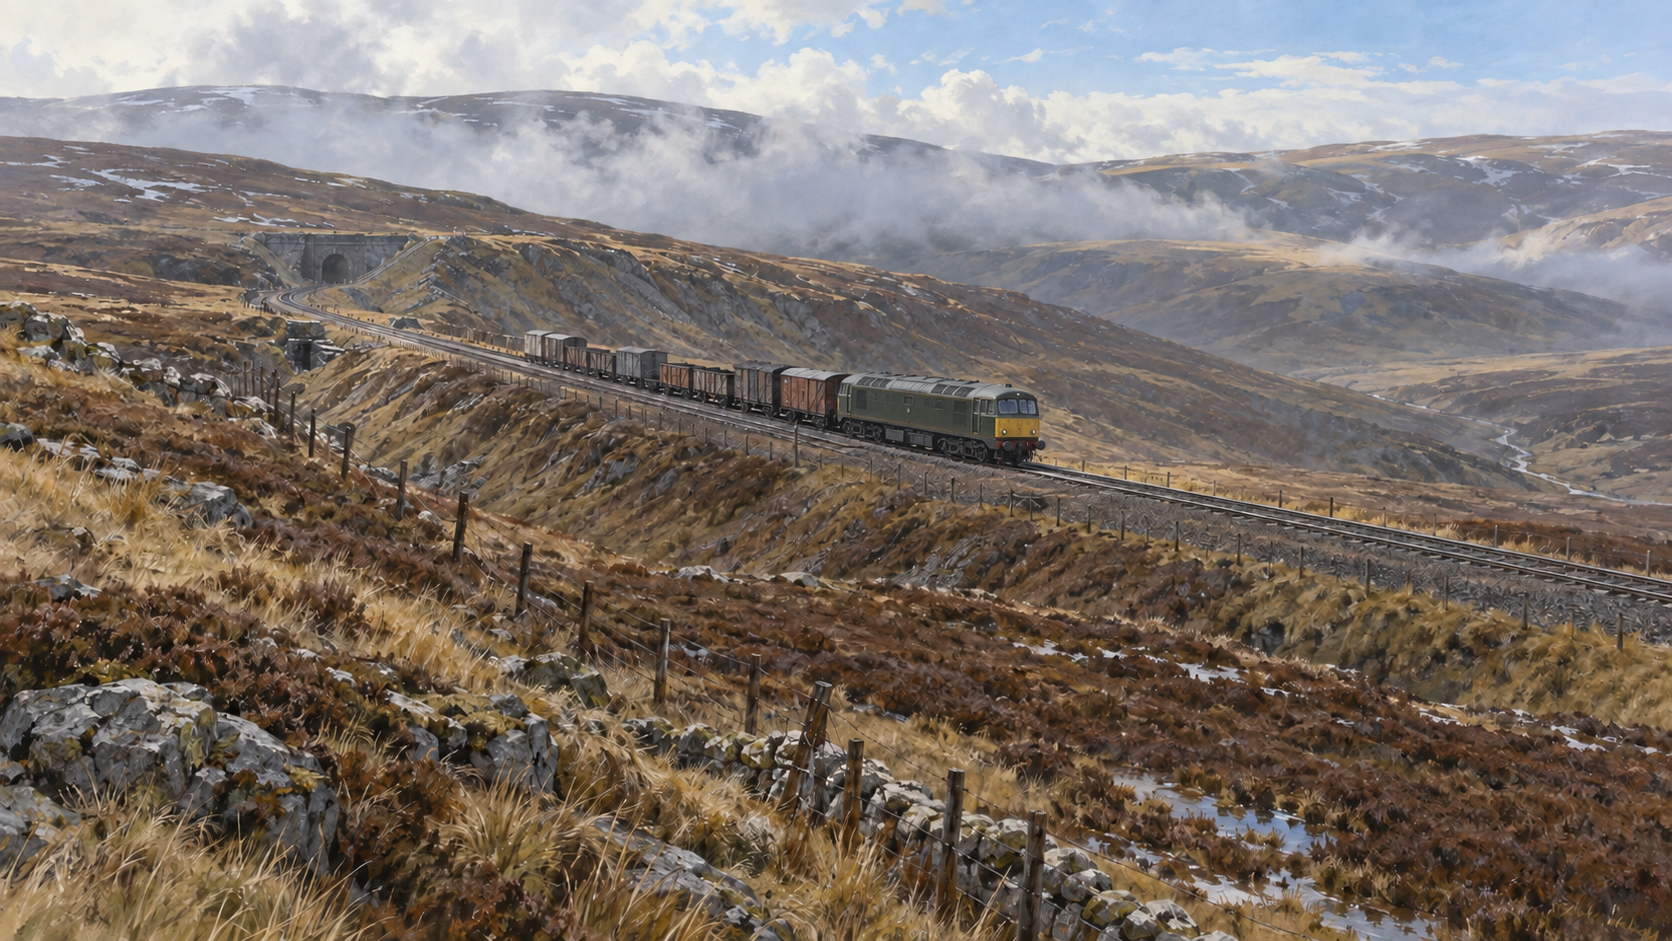
Whitrope Summit
Whitrope
The best-known summit of the route, stated as 1,006 feet in the atlas material and reproduced gradient profile.
- Type
- Summit and gradients
- Railway
- The Waverley Route
- Source reference
- WR-SPA-014; WR-SPA-016
About this structure
The supplied atlas photographs state 1,006 ft and show predominantly 1 in 75 approaches.
What still needs to be done
The approaches must not be treated as one uninterrupted gradient. Exact limits need checking against the original British Railways profile Sc12.
Preparing the structure map…